
Using the Developer Portal
Maxio Advanced Billing provides an HTTP-based API that conforms to the principles of REST. You can use the Developer Portal to test API requests with your sandbox setup. Maxio also offers Advanced Billing SDKs to support the following community tech stacks:
This page walks you through how to use the developer portal to make API requests and access the SDKs.
Make your first Maxio Advanced Billing API request
Follow these steps to make a simple request to get a list of Sites in your sandbox.
Step 1: Set up your sandbox
Step 2: Get an API key
Configure your Advanced Billing API credentials. You'll use the generated API key to authenticate requests.
Step 3: Configure your first API request
Use the cURL command-line tool to make an HTTP Get Site request.
- Copy the command below into your terminal.
- Replace "your-maxio-ab-subdomain" with the subdomain of your Maxio Advanced Billing sandbox.
- Replace "your-api-key" with the API key you configured in Step 2. This is your
BasicAuthUserName, and for testing yourBasicAuthPasswordis x. See Authentication for more information. - Run the command.
curl -X GET \
  --url 'https://"your-maxio-ab-subdomain".chargify.com/site.json'  \
  -H 'Accept: application/json' \
  -u '"your-api-key":x'
Step 4: Validate the response
The Maxio API returns JSON responses similar to the one shown. JSON is returned as the primary and recommended format. XML is also provided as a backwards-compatible option for merchants who require it.
{
  "site":
    {
      "id": 00000,
      "name": "test-b2b-site",
      "subdomain": "test-acme-clone",
      "currency": "USD",
      "seller_id": 00000,
      "non_primary_currencies": ["BRL"],
      "relationship_invoicing_enabled": true,
      "customer_hierarchy_enabled": false,
      "whopays_enabled": false,
      "whopays_default_payer": "self-ungrouped",
      "default_payment_collection_method": "automatic",
      "organization_address":
        {
          "street": null,
          "line2": null,
          "city": null,
          "state": null,
          "zip": null,
          "country": null,
          "name": "Your Org Name",
          "phone": null,
        },
      "tax_configuration":
        {
          "kind": "custom",
          "fully_configured": true,
          "destination_address": "shipping_then_billing",
        },
      "net_terms":
        {
          "default_net_terms": 0,
          "automatic_net_terms": 0,
          "remittance_net_terms": 0,
          "net_terms_on_remittance_signups_enabled": false,
          "custom_net_terms_enabled": false,
        },
      "test": true,
    },
}
Test endpoints in the Developer Portal
Now that you've made a simple request using the command line, you have the configuration information (an API key and subdomain) to test endpoints directly in the Developer Portal. Creating a customer is a good place to start.
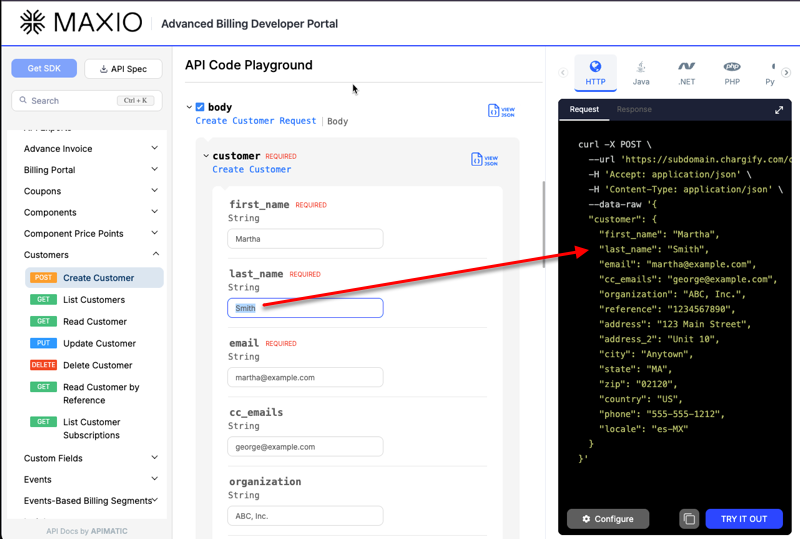
The following steps show an HTTP formatted API request to create a customer. You can select a coding language to view the examples in the language of your choice.
-
Open the Create Customer reference page in a new window or tab.
-
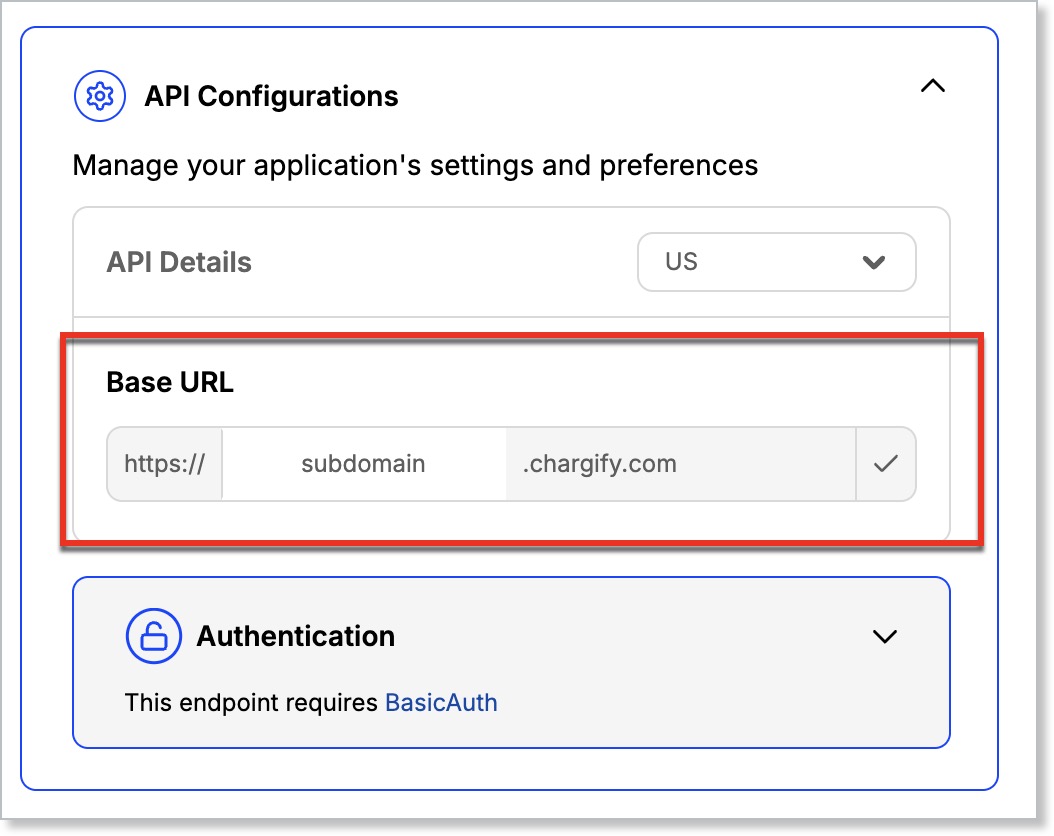
To configure the subdomain for the API requests, click the API Configurations dropdown and edit the Base URL with the subdomain for your sandbox site.
-
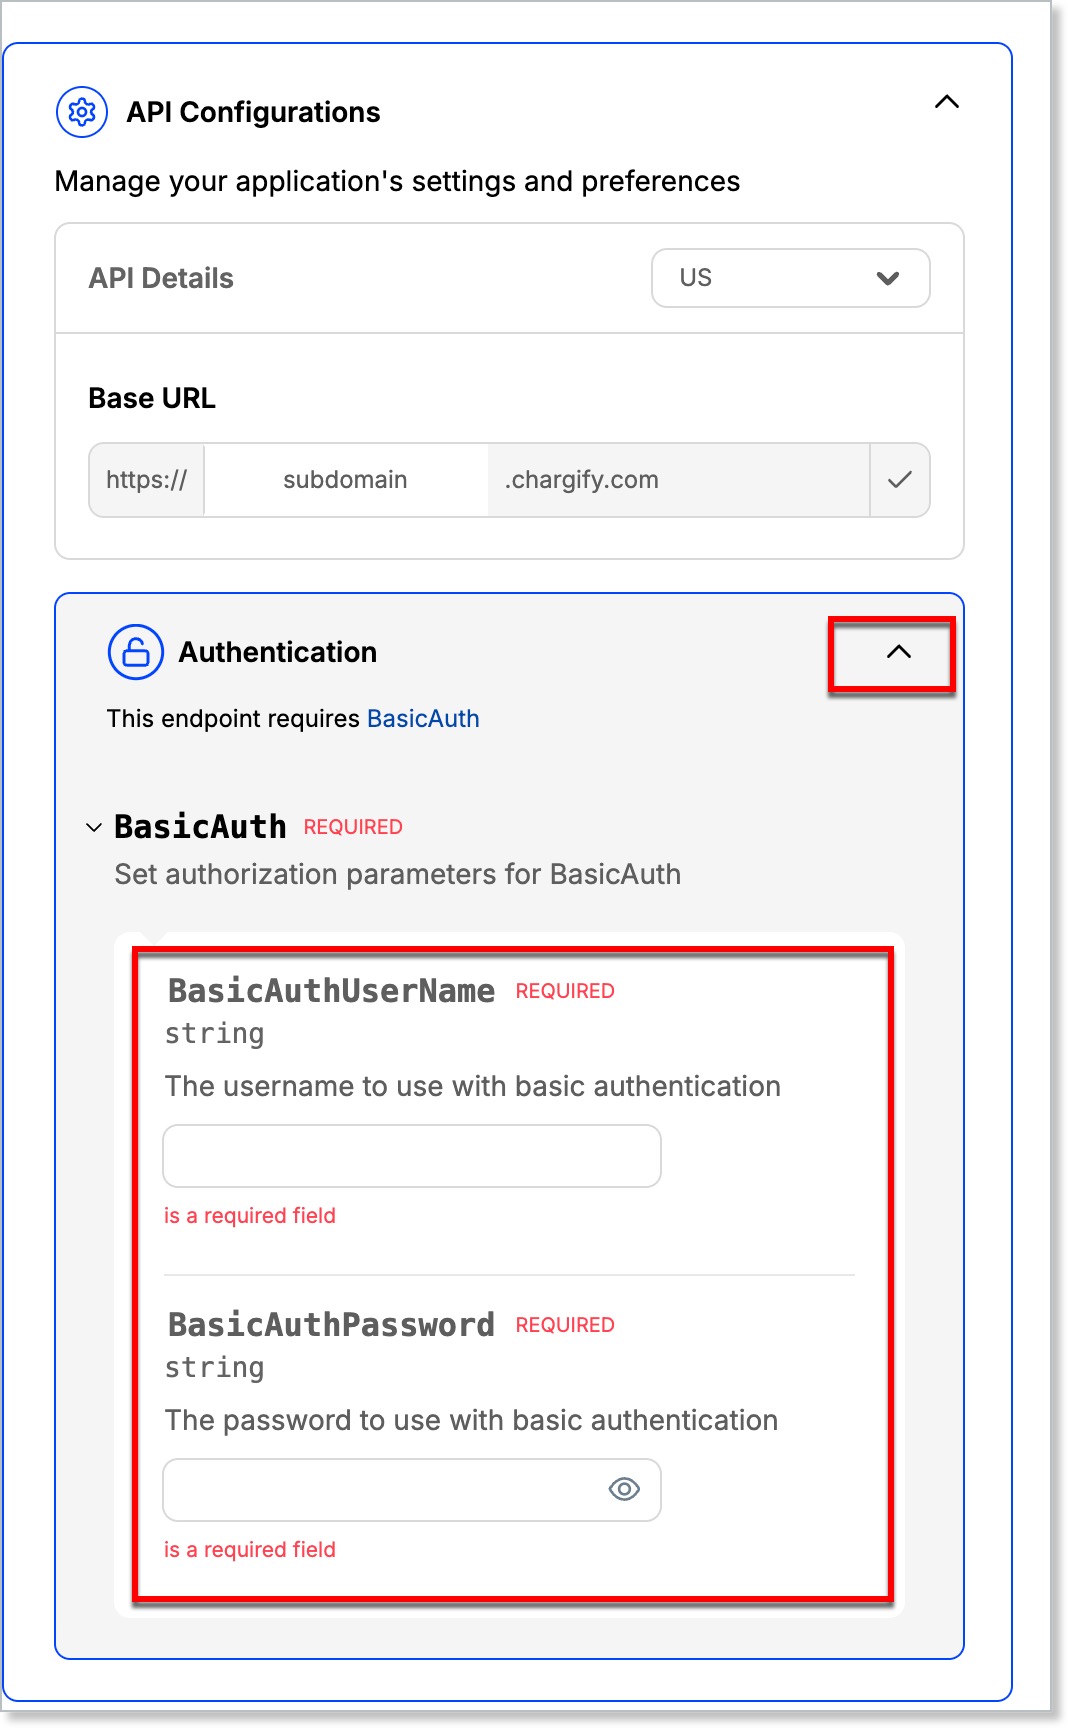
To configure authentication, click the Authentication dropdown and enter the API key for your sandbox site in
BasicAuthUserName. Enter X inBasicAuthPassword.
-
View the customer parameters in the API Code Playground section. You can leave the default example parameters or change them. The request is updated with your changes.
-
Once the parameters are set, click TRY IT OUT. You should get a response in the format documented in the Responses section.
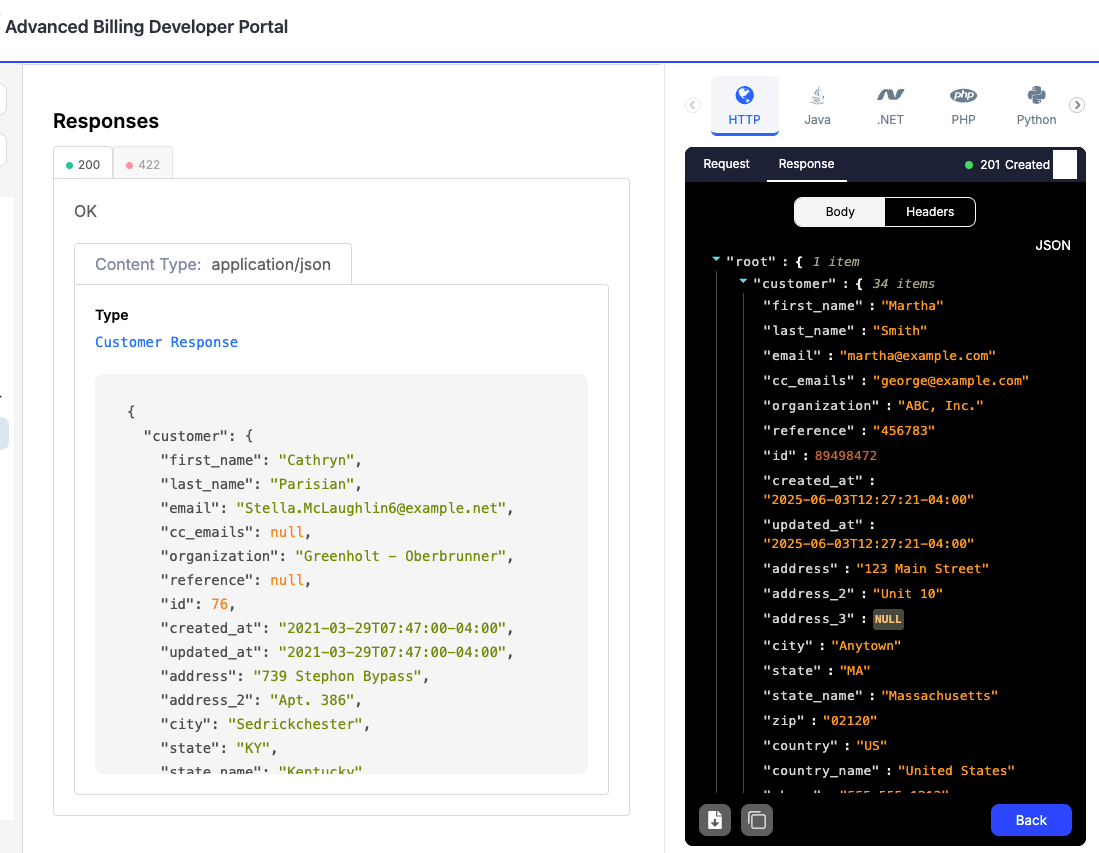
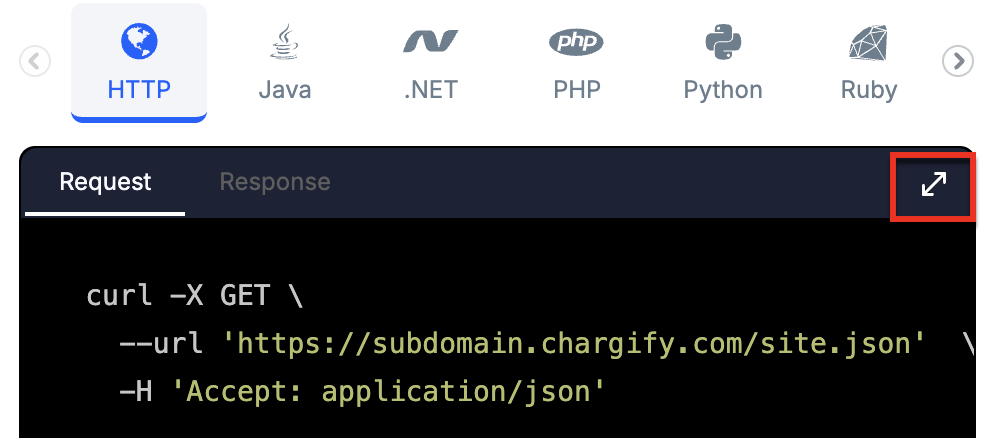
Note: You can expand the Request and Response window for easier viewing:
You can also copy the request to run in your local terminal, or developer environment if you have selected a coding language:

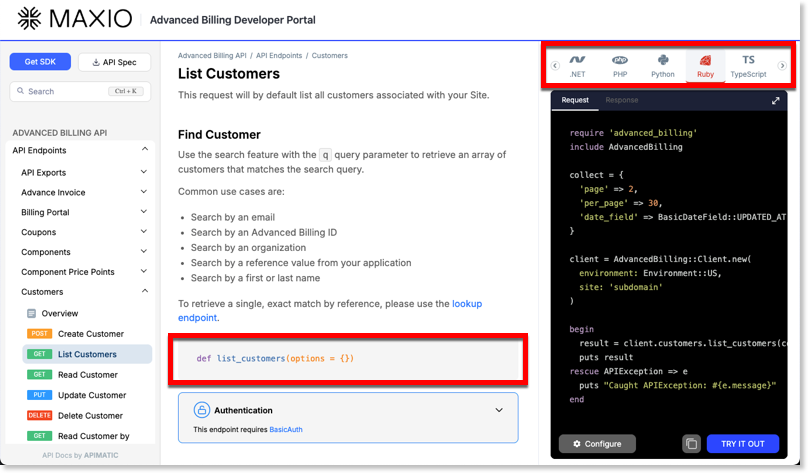
Code language selection and SDK access
The developer portal allows you to view the documentation examples in the code language of your choice and access an SDK for your selected language.
- Select a language from the language selector located at the top right of the portal. The documentation examples throughout the portal are updated to reflect the selection.
- To view SDK access options, click Get SDK.
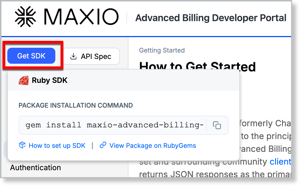
- To install the SDK you can run the install command, or click the link to the package manager where you can download and install the SDK.
For Go, clicking Get SDK downloads the SDK package as a .zip file through your browser instead of opening the SDK access options. If you prefer to install the Go SDK from a package manager, use the ab-golang-sdk package.
What's next?
Now that you've learned the basics, try these detailed walkthroughs to learn key concepts of Advanced Billing and the API:
- Managing sites.
- Creating products and how they control what you bill customers.
- Creating subscriptions (i.e., signing up customers).